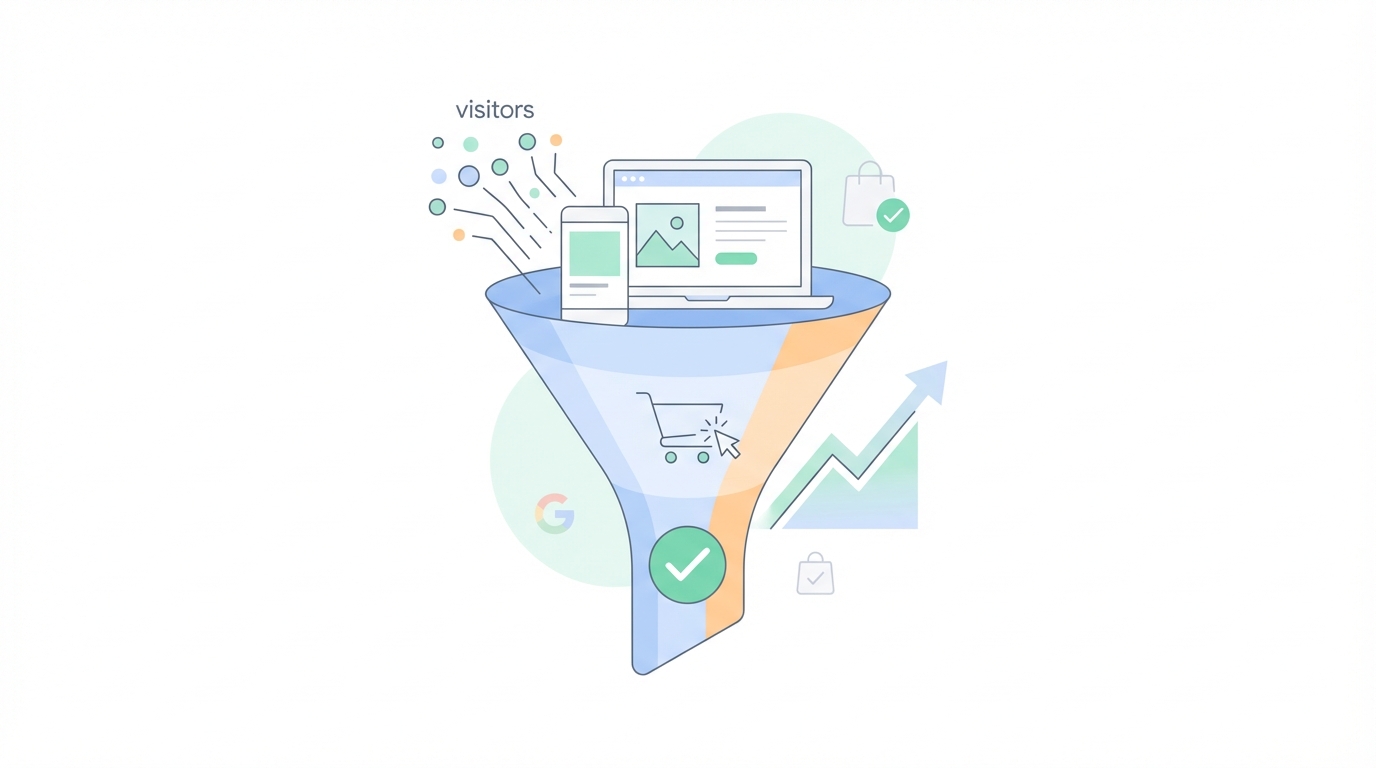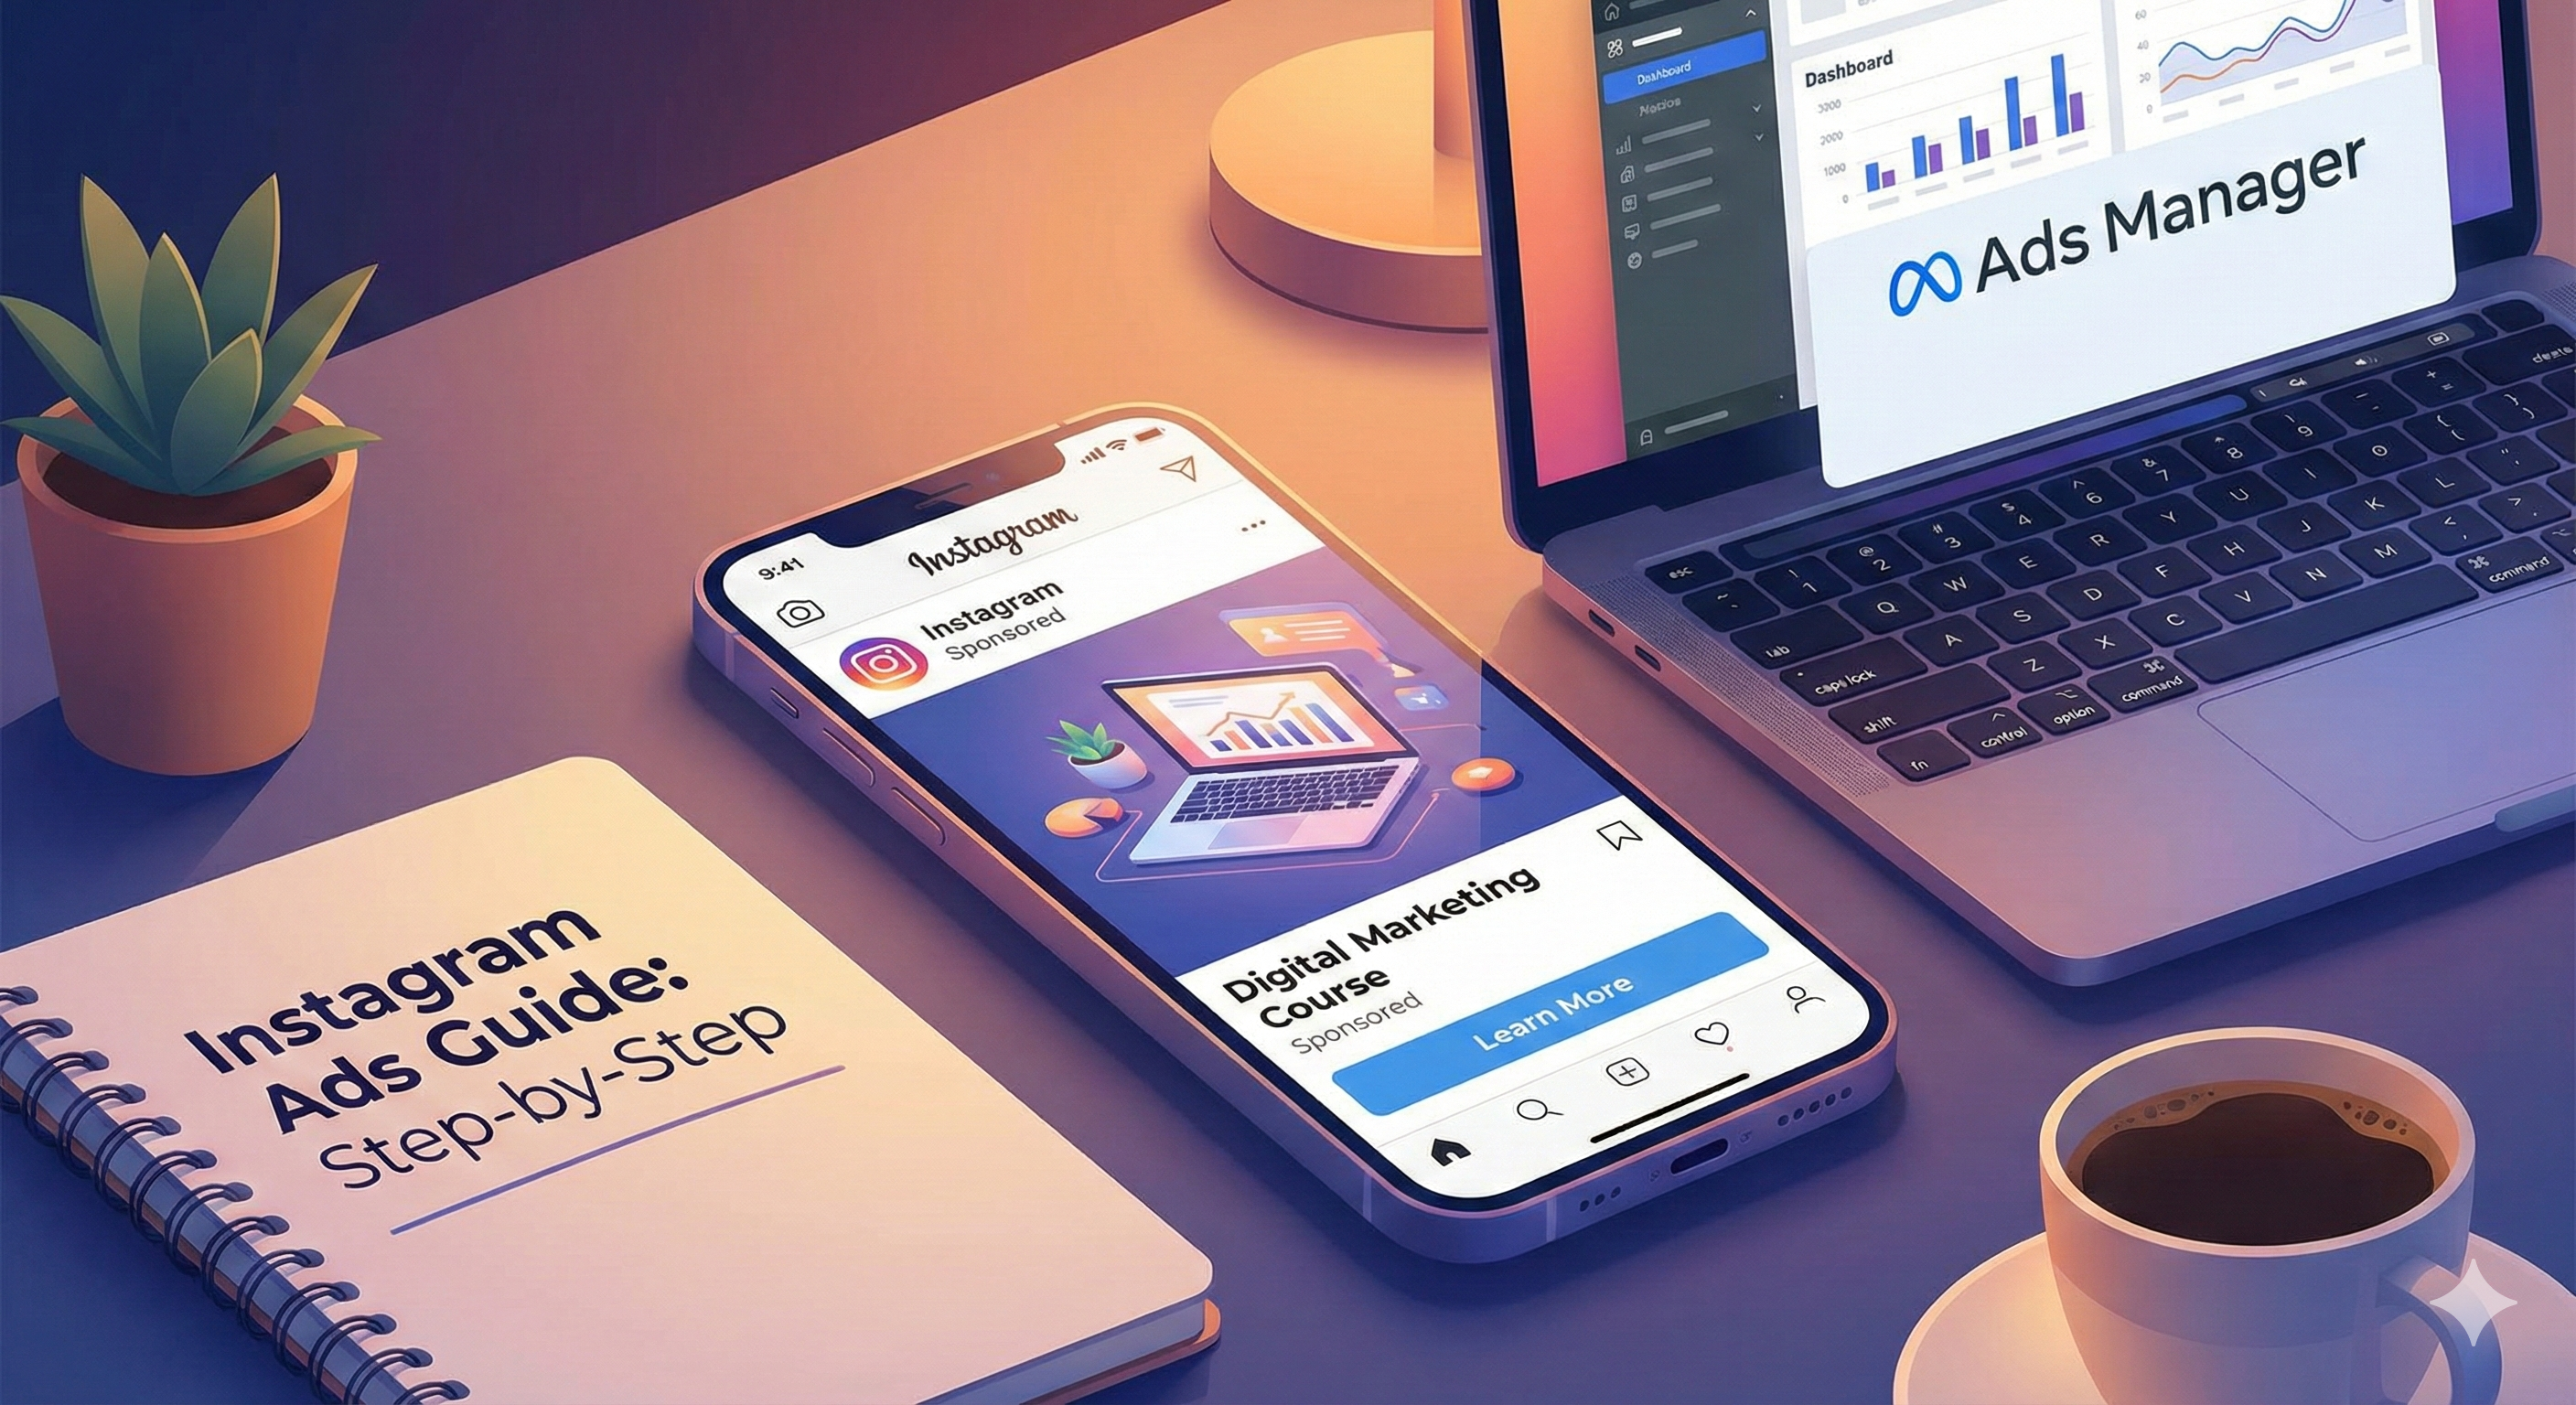
Instagram isn’t just for reels, memes, and late-night doom-scrolling anymore. It is arguably one of the most powerful advertising platforms on the planet—if you know how to wield it correctly.
If you’ve ever found yourself thinking:
-
"Instagram ads look way too complicated."
-
"Where do I even start?"
-
"Why do my competitor's ads work while mine flop?"
Then you are in the right place.
This guide is strictly jargon-free. No fluff. Just a practical, step-by-step walkthrough on how to run Instagram ads the right way so you stop burning money and start getting results.
Step 1: Understand How Instagram Ads Actually Work
Here is the first truth bomb: You don’t run professional Instagram ads directly from Instagram.
Sure, you can hit that "Boost Post" button, but that is a simplified version with limited power. Real, high-converting Instagram ads are powered by Meta Ads Manager (formerly Facebook Ads Manager).
When you run ads the pro way, you are using the [suspicious link removed]. That is where the real control lives, allowing you to track specific conversions rather than just "likes."
Step 2: Set Up the Basics (Don’t Skip This)
Before you even touch Ads Manager, you need to ensure your foundation is solid. Here is your pre-flight checklist:
1. Instagram Business or Creator Account
Personal accounts cannot run ads.
-
How to fix: Go to your Instagram Settings and switch your account type.
-
Need help? Follow the official guide on how to set up a Business Account.
2. A Facebook Page (Yes, You Need One)
Even if you never post on Facebook, this is non-negotiable. Instagram ads must be anchored to a Facebook Page to verify the business identity.
-
Action: Create a Facebook Page here and link it to your Instagram account in settings.
3. Meta Business Manager
Think of this as your "Mission Control."
-
Action: Go to business.facebook.com/overview and create an account.
-
Add your assets: Link your Facebook Page, Instagram account, and Ad Account, and add a payment method.
Step 3: Decide Your Goal (The "Why")
Every successful ad campaign starts with one clear objective. If you don't know what you want, the algorithm won't know who to find.
Ask yourself: "What do I want people to do immediately after seeing this ad?"
-
Brand Awareness: "I just want people to know I exist."
-
Traffic: "I want people to click a link to my website."
-
Engagement: "I want likes, comments, and shares."
-
Leads: "I want email signups or WhatsApp messages." (Highly recommended for service businesses).
-
Sales: "I want them to buy right now."
Pro Tip: If you are a beginner, start with Traffic or Leads. These are easier to track and optimize than direct Sales campaigns.
Step 4: Create Your Campaign in Ads Manager
Now, the real action starts.
-
Open Meta Ads Manager and click the green + Create button.
-
Choose your objective. (e.g., If you want WhatsApp messages, choose Leads or Engagement).
-
Name your campaign. Don't be lazy here. Use a naming convention like
IG_Leads_Feb_2026so you can find it later. -
Leave "Advantage+ Campaign Budget" off for now if you are testing small.
Step 5: Audience Targeting (Where Most People Mess Up)
Instagram ads are powerful because of the data they hold. You can target people based on what they actually like and do.
You can target by:
-
Demographics: Location, Age, Gender.
-
Interests: Fitness, Marketing, Real Estate, Dog Lovers, etc.
-
Behaviors: Frequent travelers, online shoppers, etc.
-
Custom Audiences: People who already visited your site or engaged with your Instagram.
The "Goldilocks" Rule for Targeting
Don't target everyone (too broad), and don't layer 50 interests (too narrow).
-
Example for a Local Gym:
-
Location: Your specific city (e.g., New Delhi).
-
Age: 18–45.
-
Interests: Physical fitness, Gym, Weight training, Yoga.
-
Result: A healthy, relevant audience.
-
Step 6: Choose Your Placements
"Placements" is just fancy talk for "Where will the ad appear?" (Stories, Reels, Feed, etc.).
-
Option A: Advantage+ Placements (Recommended). Meta uses AI to show your ad where it’s cheapest and most effective.
-
Option B: Manual Placements. If you have a vertical video specifically for Reels, you might want to uncheck "Feed" or "Desktop" placements.
Note: Reels and Stories often offer cheaper reach and higher engagement than the traditional Feed right now.
Step 7: Set Your Budget & Schedule
You don’t need a massive budget to start learning.
-
Daily Budget: You spend a fixed amount (e.g., ₹500) every day.
-
Lifetime Budget: You spend a total amount (e.g., ₹5000) over a specific date range.
My Suggestion: Start with ₹300–₹500 per day and let it run for at least 3–5 days. The algorithm needs about 72 hours to "learn" who likes your ad. Do not pause it after 24 hours just because you aren't rich yet!
Step 8: Create the Ad (The Creative)
This is what users actually see. You can have the best targeting in the world, but if your ad looks boring, you will fail.
1. The Visual (Stop the Scroll)
-
Format: Use vertical (9:16) for Reels/Stories.
-
The Hook: You have roughly 1.5 seconds to grab attention. Show the product or the problem immediately.
-
Style: "UGC" (User Generated Content) usually outperforms polished studio ads. Real people, real faces, real vibes.
2. The Caption (Human > Salesy)
Don't sound like a robot.
-
❌ Bad: "Best digital marketing service. Buy now."
-
✅ Good: "Struggling to get qualified leads from Instagram? We help local businesses turn followers into paying clients—without the stress."
3. The CTA (Call to Action)
Tell them exactly what to do. Buttons like "Learn More", "Send Message", or "Sign Up" work best. Never assume users will figure it out on their own.
-
Crucial Check: Before you publish, make sure your ad follows the Meta Advertising Standards to avoid getting rejected.
Step 9: Publish & Monitor
Review your settings and hit Publish. Your ad will go into a review phase (usually 15–30 minutes). Once active, the data will start flowing.
Step 10: Track & Optimize
Don't fly blind. Check your Ads Manager dashboard daily, but don't panic-edit.
Key Metrics to Watch:
-
CTR (Click-Through Rate): If this is below 0.8%, your creative (image/video) is likely the problem.
-
CPC (Cost Per Click): Is it too expensive to get people to your site?
-
Cost Per Result: How much did it cost to get one lead or sale?
If the cost is high, try testing a new image or video. If the CTR is low, change your headline. Small tweaks lead to big wins.
Final Thoughts
Instagram ads work insanely well, but only if you treat them like a system, not a lottery ticket.
Start small. Test often. Let the data guide you.
If you follow these steps, Instagram can transform from a time-wasting app into your business’s best sales machine.